
Build Your Dream Backyard: The Ultimate Guide to DIY Smokeless Fire Pits
Dreaming of cozy nights under the stars, roasting marshmallows with family and friends, without the choking smoke and lingering smell? A DIY smokeless fire pit is the perfect solution! This comprehensive guide will walk you through everything you need to know, from choosing the right materials to mastering the construction process, ensuring you build a safe and efficient fire pit that minimizes smoke and maximizes enjoyment.
Understanding Smokeless Fire Pit Technology
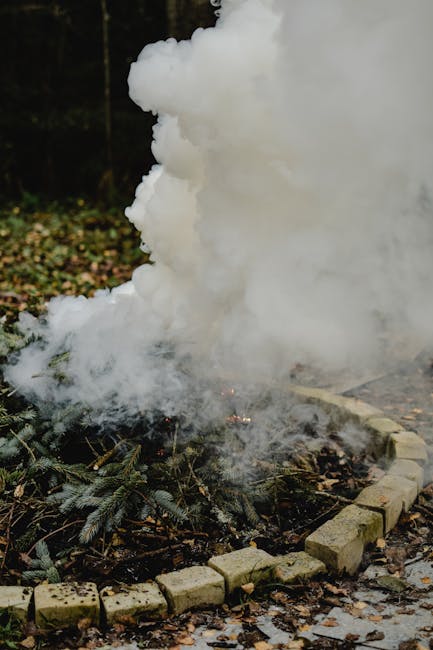
Before diving into the DIY process, let’s understand what makes a fire pit “smokeless.” Traditional fire pits burn fuel inefficiently, releasing large amounts of smoke. Smokeless designs incorporate features that promote complete combustion, significantly reducing smoke output. Key elements include:
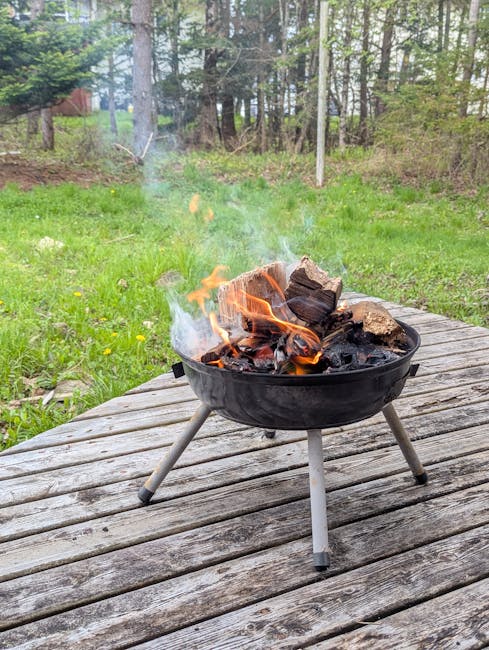
- Elevated Design: Raising the fire bowl improves airflow, allowing for more efficient combustion.
- Airflow Control: Strategically placed vents and openings regulate oxygen intake, optimizing the burning process.
- Proper Fuel: Using dry, seasoned hardwood significantly reduces smoke compared to green wood or treated lumber.
Many smokeless designs also utilize a secondary combustion chamber, where escaping smoke is re-ignited, further minimizing smoke particles.
Choosing Your DIY Smokeless Fire Pit Design
Several designs cater to different skill levels and aesthetic preferences. Here are a few popular options:
1. The Simple Raised Fire Pit:
This design involves creating a raised platform using bricks, stones, or concrete blocks, placing a fire bowl (metal or cast iron) on top. It’s easy to build, relatively inexpensive, and offers good airflow.
2. The In-Ground Fire Pit:
Requires more excavation but allows for a more integrated look. This design needs careful planning for drainage and requires constructing a robust fire bowl, often using concrete or refractory bricks.
3. The Chiminea Style Fire Pit:
Inspired by traditional Mexican clay ovens, chimineas offer excellent airflow and smoke reduction. You can construct one from concrete, clay, or even repurposed metal drums (requiring significant modification for safety). However, this design requires more advanced construction skills.
4. The Smokeless Fire Bowl with Secondary Burn Chamber:
This advanced design is more complex but offers superior smoke reduction. It typically involves a double-walled bowl with an air intake system, allowing for secondary combustion of smoke particles. This often requires welding or advanced metalworking skills.
Materials and Tools for Your DIY Smokeless Fire Pit
The specific materials will vary based on your chosen design, but here’s a general list of essentials:
- Fire Bowl: Metal (steel, stainless steel), cast iron, or a custom-built structure from refractory bricks.
- Base Material: Bricks, stones, concrete blocks, pavers, or concrete.
- Sand and Gravel: For drainage and creating a stable base.
- Mortar or Concrete Mix: For securing the base materials.
- Tools: Shovel, wheelbarrow, level, measuring tape, trowel, safety glasses, gloves, possibly a welder (depending on the design).
- Refractory Cement (Optional): If building a brick or stone fire pit for added heat resistance.
Step-by-Step Guide to Building a Simple Raised Fire Pit
Let’s build a simple, effective raised fire pit. This example uses bricks but can be adapted to other materials.
- Prepare the Area: Choose a level spot, clear vegetation and debris, and ensure sufficient clearance from flammable materials.
- Lay the Foundation: Create a level base using sand and gravel for drainage. Compact the base firmly.
- Build the Base: Construct a square or circular base using bricks, laying them with mortar for stability. Ensure the base is level and has sufficient space for the fire bowl.
- Install the Fire Bowl: Center the fire bowl on the base. You might need to add additional bricks or blocks for stability.
- Finish the Construction: Add a finishing layer of bricks or stones around the fire bowl, if desired, to enhance the aesthetic appeal and create a safety barrier. Add a retaining wall as needed.
- Safety Check: Ensure the structure is stable, the fire bowl is secure, and there are no gaps or crevices that could cause a fire hazard.
Safety Precautions and Considerations
Safety should be your top priority. Always follow these guidelines:

- Clearance: Ensure ample space around the fire pit to prevent accidental burns and fires.
- Flammable Materials: Keep all flammable materials (dry leaves, wood piles, etc.) far from the fire pit.
- Supervision: Never leave a fire unattended.
- Water Source: Keep a bucket of water or sand nearby for emergencies.
- Proper Ventilation: Ensure sufficient ventilation in the area to avoid carbon monoxide buildup.
- Children and Pets: Keep children and pets away from the fire pit without supervision.
Maintaining Your DIY Smokeless Fire Pit
Regular maintenance will ensure your fire pit’s longevity and safety:
- Clean Regularly: Remove ashes and debris after each use to prevent buildup.
- Inspect for Damage: Regularly check for cracks, loose bricks, or other damage.
- Repair as Needed: Repair any damage promptly using appropriate mortar or materials.
Building a DIY smokeless fire pit is a rewarding project that adds value and enjoyment to your outdoor space. Remember to plan carefully, follow safety guidelines, and enjoy the cozy ambiance of your handcrafted fire pit for years to come!
