
Mastering the Art of String of Pearls Propagation: A Comprehensive Guide
The enchanting String of Pearls (Senecio rowleyanus) plant, with its cascading chains of pea-like leaves, is a beloved succulent sought after for its unique beauty and relatively low-maintenance care. But what happens when you want to share this beauty, or simply expand your collection? Propagation! This comprehensive guide will walk you through various methods to successfully propagate your String of Pearls, ensuring you have a thriving and abundant collection.
Understanding String of Pearls Growth and Propagation
Before diving into the propagation methods, understanding the plant’s growth habits is crucial. String of Pearls grows from nodes, points along the stems where leaves and roots emerge. These nodes are the key to successful propagation, as they contain the meristematic tissue responsible for new growth. The plant’s relatively simple structure and ability to easily root makes propagation a rewarding and achievable task for both beginners and experienced plant enthusiasts.
Ideal Timing for Propagation
The best time to propagate String of Pearls is during the plant’s active growing season, typically spring and summer. During these months, the plant has ample energy and resources to support root development. Avoiding propagation during the dormant winter months can reduce the chances of successful rooting due to the plant’s slower metabolism.

Methods for Propagating String of Pearls
Several methods can be employed to propagate your String of Pearls, each with its own advantages and disadvantages. Let’s explore the most popular and effective techniques:
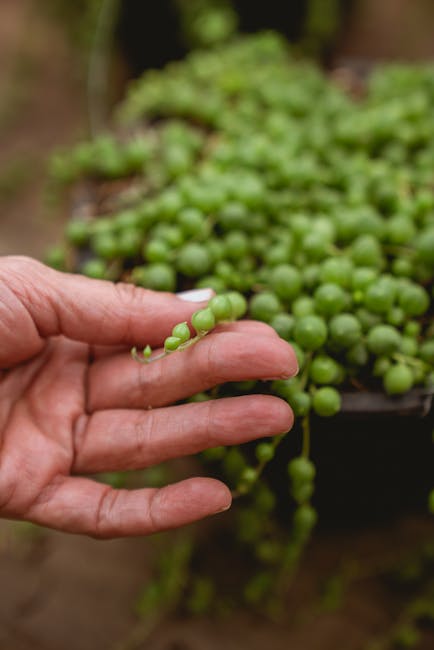
1. Propagation from Stem Cuttings
This is arguably the most common and easiest method. Here’s a step-by-step guide:
- Select Healthy Stems: Choose healthy, non-woody stems with several nodes. Avoid stems that show signs of disease or damage.
- Cut the Stems: Using sharp, clean scissors or a knife, cut a section of the stem, approximately 4-6 inches long. Ensure the cuts are clean to prevent rot.
- Allow to Callus (Optional): Allow the cut ends to callus over for a few days. This helps prevent rot and encourages faster rooting. Place the cuttings in a dry, shaded area.
- Planting: Plant the cuttings in a well-draining succulent potting mix. You can either plant them directly into small pots or use a propagation tray with perlite or vermiculite. Ensure the nodes are partially buried in the soil.
- Watering: Water lightly after planting, allowing the soil to dry out slightly between waterings. Overwatering is a common cause of failure.
- Light: Place the cuttings in a bright location but avoid direct sunlight, especially during the hottest parts of the day.
- Patience: Rooting can take several weeks or even months. Be patient and avoid disturbing the cuttings during this period.
2. Propagation from Node Cuttings
This method focuses on individual nodes, potentially offering faster results. Follow these steps:
- Identify Nodes: Locate healthy nodes along the stems.
- Cut Below the Node: Carefully cut the stem just below a node, leaving a small portion of stem attached to the node.
- Planting: Plant the node directly into moist propagation mix, ensuring the node is partially buried.
- Care: Follow the same watering and lighting guidelines as with stem cuttings.
3. Layering
Layering involves rooting a stem while it’s still attached to the mother plant. This is a less disruptive method:
- Select a Stem: Choose a long, healthy stem that can be easily bent towards the soil.
- Pinning Down: Gently bury a section of the stem in moist soil, leaving the tip exposed. Use a small rock or peg to secure the stem in place.
- Watering: Keep the soil consistently moist.
- Separation: Once the buried section has rooted (you’ll see new growth), carefully cut the stem from the mother plant and pot the new plant.
4. Propagation from Leaves (Less Reliable):
While possible, propagating String of Pearls from leaves is less reliable than stem or node cuttings. Leaf cuttings often fail to produce roots. However, some enthusiasts report success using this method, often combined with rooting hormone. This involves placing the leaf on damp soil and maintaining consistent humidity.
Troubleshooting Common Issues
Despite the relative ease of propagation, some common problems might arise:
- Rotting: Overwatering is the primary culprit. Ensure well-draining soil and avoid overwatering.
- No Root Development: Insufficient light or improper soil conditions can hinder root growth. Ensure adequate light and use a well-draining succulent potting mix.
- Slow Growth: This can be due to insufficient light, improper watering, or nutrient deficiency. Adjust light exposure, watering schedule, and consider fertilizing with a balanced succulent fertilizer during the growing season.
- Pest Infestations: Mealybugs are a common pest. Treat infestations promptly with insecticidal soap or neem oil.
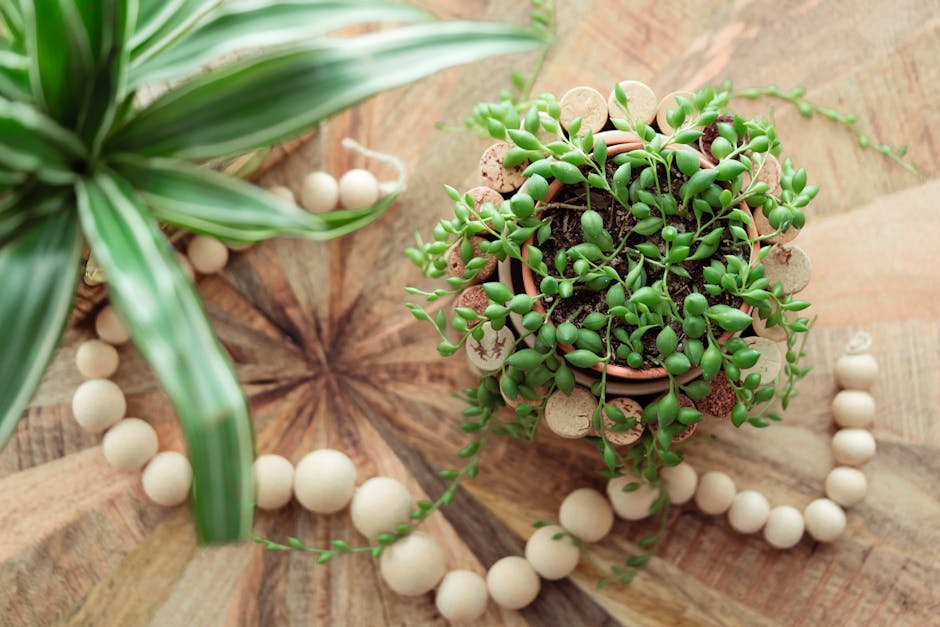
Choosing the Right Potting Mix and Container
The success of your String of Pearls propagation largely depends on the right potting mix and container. A well-draining mix is paramount. A blend of cactus and succulent potting mix, perlite, and coarse sand is ideal. Avoid using garden soil, which retains too much moisture and can lead to root rot. The container should have drainage holes to prevent waterlogging.
Maintaining Your Propagated String of Pearls
Once your cuttings have rooted and developed a good root system, they can be transplanted into individual pots. Continue to provide bright, indirect light, well-draining soil, and consistent but not excessive watering. Regularly inspect your plants for pests and diseases.
With careful attention and the right techniques, propagating your String of Pearls is a rewarding experience that allows you to multiply this charming succulent and share its beauty with others or simply enjoy a fuller, more bountiful plant.
